Cuisinart ice cream makers offer a delightful way to create frozen desserts at home, boasting fully automatic operation and a 3-year limited warranty.
These machines, like the ICE30BCP1, quickly produce ice cream, sorbet, and frozen yogurt in under 30 minutes, adding fun to gatherings.
Enjoy the convenience of homemade treats with a reliable appliance designed for ease of use and consistent results, perfect for any dessert enthusiast!
What is a Cuisinart Ice Cream Maker?
A Cuisinart ice cream maker is a countertop appliance designed for effortlessly creating frozen desserts at home. Models like the popular 2-quart ICE30BCP1 utilize a double-insulated freezer bowl to chill the mixture, eliminating the need for ice.
These machines aren’t limited to just ice cream; they expertly handle sorbets and frozen yogurt too, offering versatility for various tastes. The process is fully automatic – simply assemble the components, pour in your prepared mixture, and let the machine work its magic for approximately 15-20 minutes.
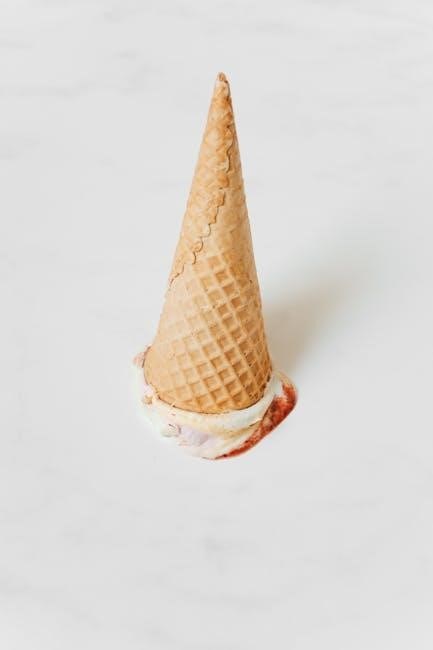
The result is a soft-serve consistency that can be enjoyed immediately or hardened further in an airtight container. Cuisinart ice cream makers are known for their user-friendly design and ability to deliver delicious, homemade frozen treats with minimal effort, backed by a limited 3-year warranty for peace of mind.
Benefits of Making Homemade Ice Cream
Creating homemade ice cream with a Cuisinart machine offers numerous advantages over store-bought options. You gain complete control over ingredients, avoiding artificial flavors, colors, and preservatives. This is especially beneficial for those with dietary restrictions or allergies, allowing customization to suit individual needs.
Beyond health benefits, homemade ice cream simply tastes better! The freshness and quality of ingredients translate into a richer, more flavorful experience. It’s also a fun and rewarding activity, perfect for family gatherings or a creative outlet.
Furthermore, a Cuisinart ice cream maker provides cost savings over time, as the price of frequent store purchases adds up. Enjoy the satisfaction of crafting unique and delicious frozen desserts tailored to your preferences, all within the comfort of your own kitchen.

Preparing for Your First Batch

Successful ice cream making begins with proper preparation! Ensure your freezer bowl is thoroughly frozen, and the Cuisinart machine is assembled correctly for optimal performance.
Freezing the Bowl: Crucial First Step
Freezing the bowl is absolutely essential for successful ice cream making with your Cuisinart machine. The double-insulated freezer bowl needs ample time to reach the correct temperature – a consistent 0°F is vital.
Before your first use, and after each subsequent cleaning, the bowl requires at least 24 hours in the freezer. However, for consistent results, it’s best to leave it in the freezer continuously.
Ensure the bowl is placed on a level surface and isn’t obstructed by other items, allowing for maximum cold air circulation. A properly frozen bowl is the key to achieving a creamy, frozen texture. If the bowl isn’t cold enough, your mixture won’t freeze correctly, resulting in a soupy consistency. Don’t rush this step; patience is rewarded with delicious homemade ice cream!
Understanding the Importance of 0°F Freezer Temperature
Maintaining a freezer temperature of 0°F is critical for optimal Cuisinart ice cream maker performance. This temperature ensures the freezer bowl is thoroughly frozen, which is the foundation of the entire ice cream-making process.
Without sufficient freezing, the mixture won’t solidify properly, leading to a soft, unappealing texture. Amazon product details specifically note checking your freezer setting to guarantee proper freezing of all foods.
Regularly verify your freezer’s temperature with a thermometer to confirm it’s consistently at 0°F. Avoid overcrowding the freezer, as this can impede airflow and affect temperature regulation. A consistent, deeply frozen bowl is the key to achieving the thick, creamy ice cream you desire. Prioritize this step for consistently successful results!
Assembling the Ice Cream Maker Components
Before embarking on your ice cream adventure, proper assembly of your Cuisinart machine is essential. Begin by ensuring the freezer bowl is completely frozen – this is a prerequisite, not part of assembly, but crucial timing-wise.
Next, place the dasher assembly into the bowl, ensuring it spins freely. The dasher is the component responsible for mixing and incorporating air. Then, carefully attach the motor base to the bowl, aligning it correctly until it clicks into place.
Refer to your instruction booklet for a visual guide, as specific models may vary slightly. Double-check that all parts are securely connected before adding your ice cream mixture. A stable assembly prevents spills and ensures efficient operation, leading to perfectly churned frozen delights!
Recipes and Ingredients
Cuisinart booklets offer starting points, but online resources provide more detailed and metric-friendly recipes for delicious homemade ice cream and frozen treats.
Experiment with flavors and ingredients to personalize your frozen desserts, ensuring a delightful culinary experience!
Evaluating Cuisinart Booklet Recipes
Cuisinart ice cream maker booklets provide a foundational set of recipes to begin your homemade ice cream journey, but they often lack the depth and detail that experienced dessert enthusiasts might desire. Many users, as noted on platforms like Reddit’s r/icecreamery, find the included recipes to be somewhat brief and lacking in comprehensive instructions.
While perfectly functional as a starting point, these recipes frequently omit nuanced explanations regarding ingredient ratios, mixing techniques, or troubleshooting potential issues. A common critique is the absence of metric measurements, which can be inconvenient for those accustomed to this system.
Therefore, it’s advisable to view the booklet recipes as introductory guidelines rather than definitive formulas. Supplementing them with external resources – online recipes, cookbooks, or more detailed guides – will significantly enhance your success and allow for greater experimentation and customization. Don’t hesitate to explore beyond the booklet!
Finding Reliable Recipes (Metric Measurements)
For users preferring metric measurements, sourcing recipes beyond the Cuisinart booklet is essential. Online resources and dedicated ice cream cookbooks offer a wealth of options tailored to this system. Many online food blogs specializing in desserts provide detailed recipes with precise metric quantities, often accompanied by helpful photos and videos.
When searching, prioritize websites and blogs known for their accuracy and thoroughness. Reddit communities, like r/icecreamery, frequently share trusted recipes and recommendations from fellow ice cream makers. Consider investing in ice cream-specific cookbooks; look for titles explicitly stating they include metric measurements.

Ensure the recipes are designed for home ice cream makers, specifically those with pre-frozen bowls, to guarantee optimal results. Adapting imperial measurements can be tricky, so starting with recipes already in metric form is highly recommended for consistent and delicious outcomes.
Basic Ice Cream Recipe
Here’s a foundational recipe to begin your Cuisinart ice cream journey. Combine 500ml (2 cups) of heavy cream, 250ml (1 cup) of whole milk, and 120g (½ cup) of granulated sugar in a saucepan. Gently heat, stirring until the sugar dissolves – do not boil! Remove from heat and stir in 1 tsp of vanilla extract.
Chill the mixture thoroughly in the refrigerator for at least 2 hours, or preferably overnight. This ensures optimal freezing. Once chilled, pour the mixture into your pre-frozen Cuisinart bowl.
Turn on the machine and let it churn for approximately 15-20 minutes, until the ice cream reaches a soft-serve consistency. For a firmer texture, transfer to an airtight container and freeze for an additional 2-4 hours. Enjoy your homemade creation!
Operating the Ice Cream Maker
Pour your chilled mixture into the frozen bowl, then turn on the Cuisinart machine. Allow it to mix for 15-20 minutes, achieving a soft, creamy texture.
Pouring the Mixture into the Frozen Bowl
Carefully remove the thoroughly frozen freezer bowl from your freezer. Ensure it’s completely frozen – a 0°F temperature is crucial for optimal results, as highlighted in product notes. Gently place the bowl into the Cuisinart ice cream maker base, securing it properly according to your model’s instructions.
Now, slowly pour your prepared ice cream mixture into the frozen bowl. Avoid overfilling; leave at least one inch of space at the top, as the mixture will expand during the churning process. Overfilling can lead to spillage and prevent proper freezing.
Secure the lid onto the ice cream maker, ensuring it clicks into place. The paddle should be positioned correctly to churn the mixture effectively. Double-check all components are properly assembled before initiating the freezing process. This step sets the stage for delicious, homemade ice cream!
Mixing Time: 15-20 Minutes
Once the lid is securely fastened and the mixture is inside, plug in your Cuisinart ice cream maker and turn it on. The machine will begin to churn the mixture, gradually freezing it into a creamy consistency. Generally, the mixing process takes approximately 15 to 20 minutes, but this can vary depending on the recipe, ambient temperature, and the initial temperature of your ingredients.
Allow the machine to run for the full recommended time, even if the mixture appears to be thickening sooner. This ensures a consistent and fully frozen texture. Avoid lifting the lid during the churning process, as this can disrupt the freezing and affect the final result.
Observe the mixture’s transformation; it will thicken and become similar to soft-serve ice cream. This indicates the process is nearing completion, delivering a delightful homemade treat!
Achieving Desired Consistency
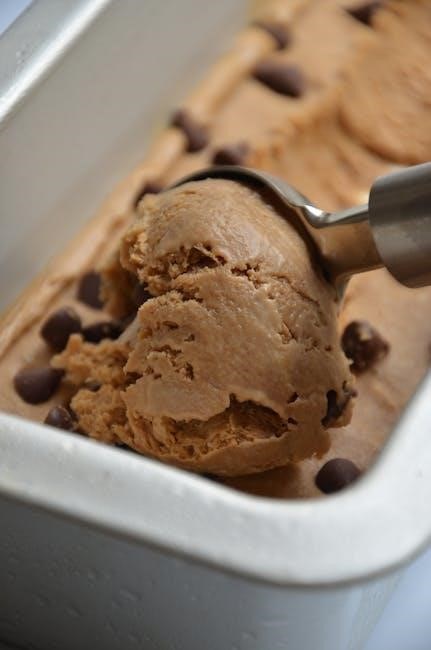
After the initial 15-20 minute mixing period, assess the ice cream’s consistency. It should resemble soft-serve, but you might prefer a firmer texture. If a harder consistency is desired, transfer the mixture to an airtight container immediately.
Important: Freezing in a container allows the ice cream to harden further without over-churning, which can lead to a grainy texture. The Cuisinart booklet suggests this step for optimal results.
Consider the type of dessert you’re making; sorbet may require less hardening time than richer ice cream bases. Experimentation is key to finding your perfect consistency! Remember, homemade ice cream tends to be softer than store-bought varieties due to the absence of stabilizers.
Enjoy your freshly made frozen dessert!

Post-Mixing and Storage
Immediately after mixing, transfer your homemade ice cream to airtight containers for optimal freshness. Loaf pans are a popular choice for easy scooping and storage!
Transferring to Airtight Containers
Once the mixing cycle is complete, your ice cream will have a soft-serve consistency. To achieve a firmer texture and prevent ice crystal formation, promptly transfer the freshly made ice cream into airtight containers. This step is crucial for maintaining the creamy, smooth quality you desire.
Plastic containers with tight-fitting lids or freezer-safe glass containers work exceptionally well. Avoid containers that allow air exposure, as this can lead to freezer burn and affect the flavor and texture of your homemade creation. Fill the containers, leaving a small amount of headspace to allow for expansion during freezing.
For optimal results, consider pre-chilling the containers in the freezer for about 30 minutes before transferring the ice cream. This helps to further solidify the mixture and minimize ice crystal development. Remember, speed is key – the quicker you transfer and seal the ice cream, the better the final product will be!
Recommended Storage Methods (Loaf Pans)
Many Cuisinart ice cream maker enthusiasts recommend utilizing loaf pans for superior ice cream storage, particularly for achieving a smoother texture. After transferring from the machine, spread the ice cream evenly into a freezer-safe loaf pan. This method maximizes surface area, promoting faster and more uniform freezing.
Cover the surface of the ice cream directly with plastic wrap, pressing it gently onto the surface to eliminate air pockets. This prevents ice crystal formation and maintains a creamy consistency. Then, wrap the entire loaf pan tightly with additional plastic wrap or aluminum foil for an extra layer of protection.
Allow the ice cream to harden in the loaf pan for at least 2-4 hours, or preferably overnight, before scooping and enjoying. This ensures a firm, scoopable texture. Once frozen solid, transfer to airtight containers if desired for longer-term storage, maintaining optimal flavor and quality.

Maintenance and Warranty
Regular cleaning of your Cuisinart ice cream maker ensures longevity and optimal performance. It comes with a limited 3-year warranty for peace of mind.
Proper care and adherence to the warranty terms will keep your frozen dessert creation flowing smoothly for years to come!
Cleaning Your Cuisinart Ice Cream Maker
Thorough cleaning after each use is essential for maintaining your Cuisinart ice cream maker’s performance and hygiene. Begin by unplugging the appliance and disassembling all removable parts – the freezer bowl, mixing paddle, and lid.
Wash these components in warm, soapy water, ensuring all traces of ice cream residue are removed. The freezer bowl is often hand-wash only; avoid abrasive cleaners or scouring pads that could damage its surface. The mixing paddle and lid are typically dishwasher-safe, but always check your model’s instruction manual for confirmation.
Wipe down the motor base with a damp cloth, avoiding immersion in water. Allow all parts to air dry completely before reassembling. For stubborn residue, a mild baking soda paste can be gently applied and rinsed thoroughly. Regular cleaning prevents bacterial growth and ensures consistently delicious results with every batch!
Cuisinart Limited 3-Year Warranty Information
Cuisinart stands behind the quality of its ice cream makers with a limited 3-year warranty, covering defects in materials and workmanship from the date of original purchase. This warranty applies to normal household use and does not encompass damage resulting from misuse, accidents, or unauthorized repairs.
To make a claim, retain your proof of purchase and contact Cuisinart customer service. They will guide you through the process, which may involve returning the defective product for inspection and repair or replacement. The warranty does not cover shipping costs or consequential damages.
This warranty provides peace of mind, ensuring your investment is protected against manufacturing flaws. Refer to the complete warranty documentation included with your appliance for detailed terms and conditions, and register your product online for added convenience.
Leave a Reply
You must be logged in to post a comment.